Installation guide (manual)
Supported devices
AirMessage supports the following devices:
| AirMessage Server (required) | AirMessage for Android |
|---|---|
| macOS 10.10 Yosemite or newer | Android 6.0 Marshmallow or newer |
Please note that AirMessage for web does not support direct connections.
Installing the server
AirMessage Server is a crucial part of the AirMessage experience - it forwards incoming messages to your Android phone or browser, and sends outgoing messages on their behalf.
To get started, simply download the server onto your Mac computer and place it in the Applications folder.
When you open the app, you will be greeted with this welcome message:
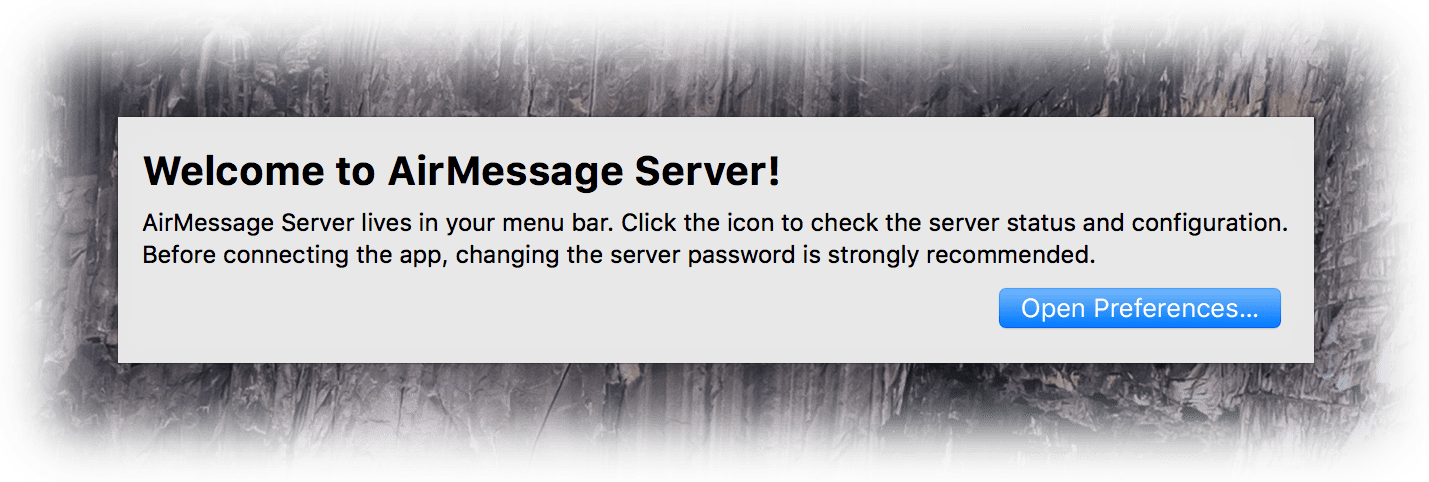
Open the preferences window and click “Edit Password…”, and replace the default password with a password of your choosing. Remember, your messages are only as secure as the password you pick!
Enabling messaging access
If you are on macOS Mojave 10.14 or later, you will have to allow AirMessage automation access in order to send messages. You will be prompted when first running the software, though if you previously rejected this permission, you can re-enable it later under System Preferences > Security & Privacy > Privacy > Automation.
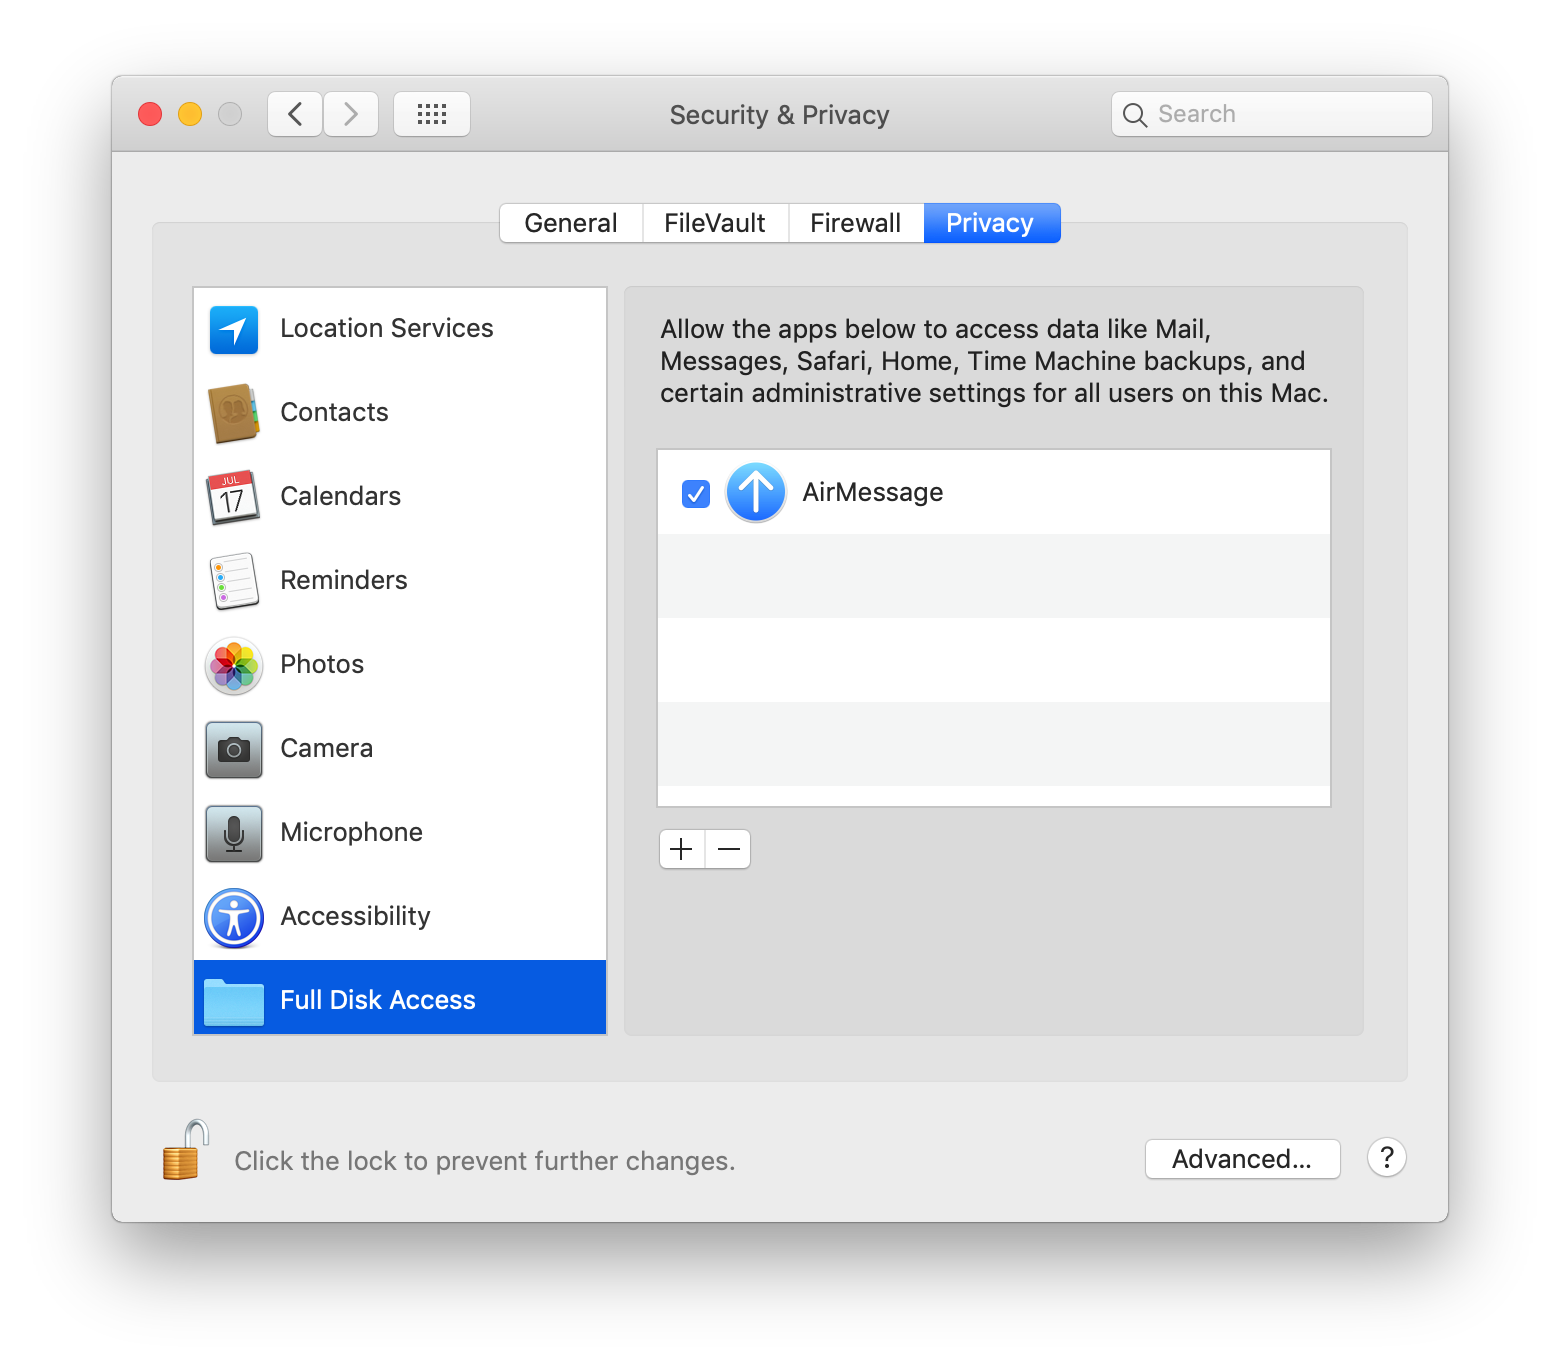
You will also be prompted to allow AirMessage to read your messages on macOS Mojave 10.14 or later. Under System Preferences > Security & Privacy > Privacy > Full Disk Access, add AirMessage. AirMessage will not read any data other than your Messages data.
Adjusting sleep settings
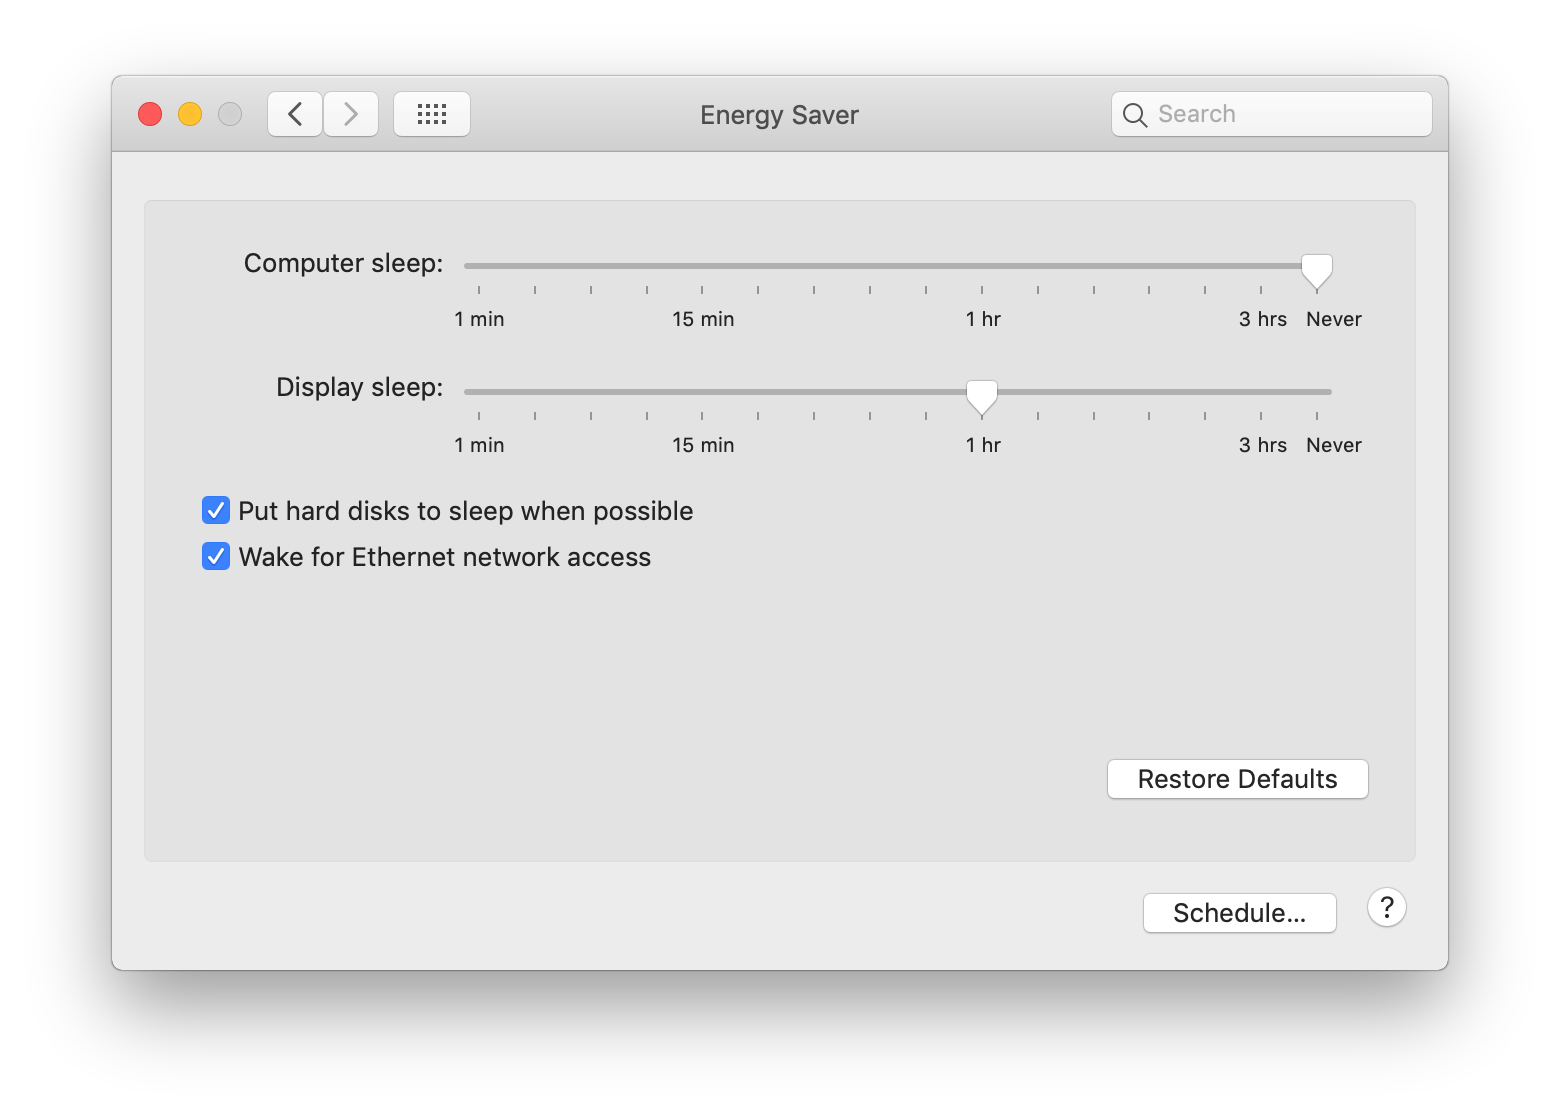
As AirMessage functions as a server on your Mac, it will need to be available all the time in order to send and receive messages. For this reason, you will have to disable sleep settings on your Mac. Navigate to System Preferences > Energy Saver to change this setting.
If you are running AirMessage on a laptop, the system will freeze all software currently running when the lid is shut, regardless of energy saver settings. If you would like to turn your laptop into a stationary server, we recommend that you use a keep-awake utility such as Amphetamine or Caffeinate (built-in commmand).
Configuring the connection
In order to ensure reliable usage of the app, we’ll have to make a few more changes.
Port forwarding is a procedure that allows devices from outside your network to connect to devices inside your network. In this case, it would allow your smartphone or computer to connect back to your Mac at home, no matter where you are.
IP addresses will change from time to time, which will prevent AirMessage from connecting properly. To circumvent this, a dynamic DNS service tracks changes to your IP and updates reliant devices, ensuring that they’re always able to make a connection. If you use your computer as any other kind of server, you may already be familiar with this.
Finding your local IP address
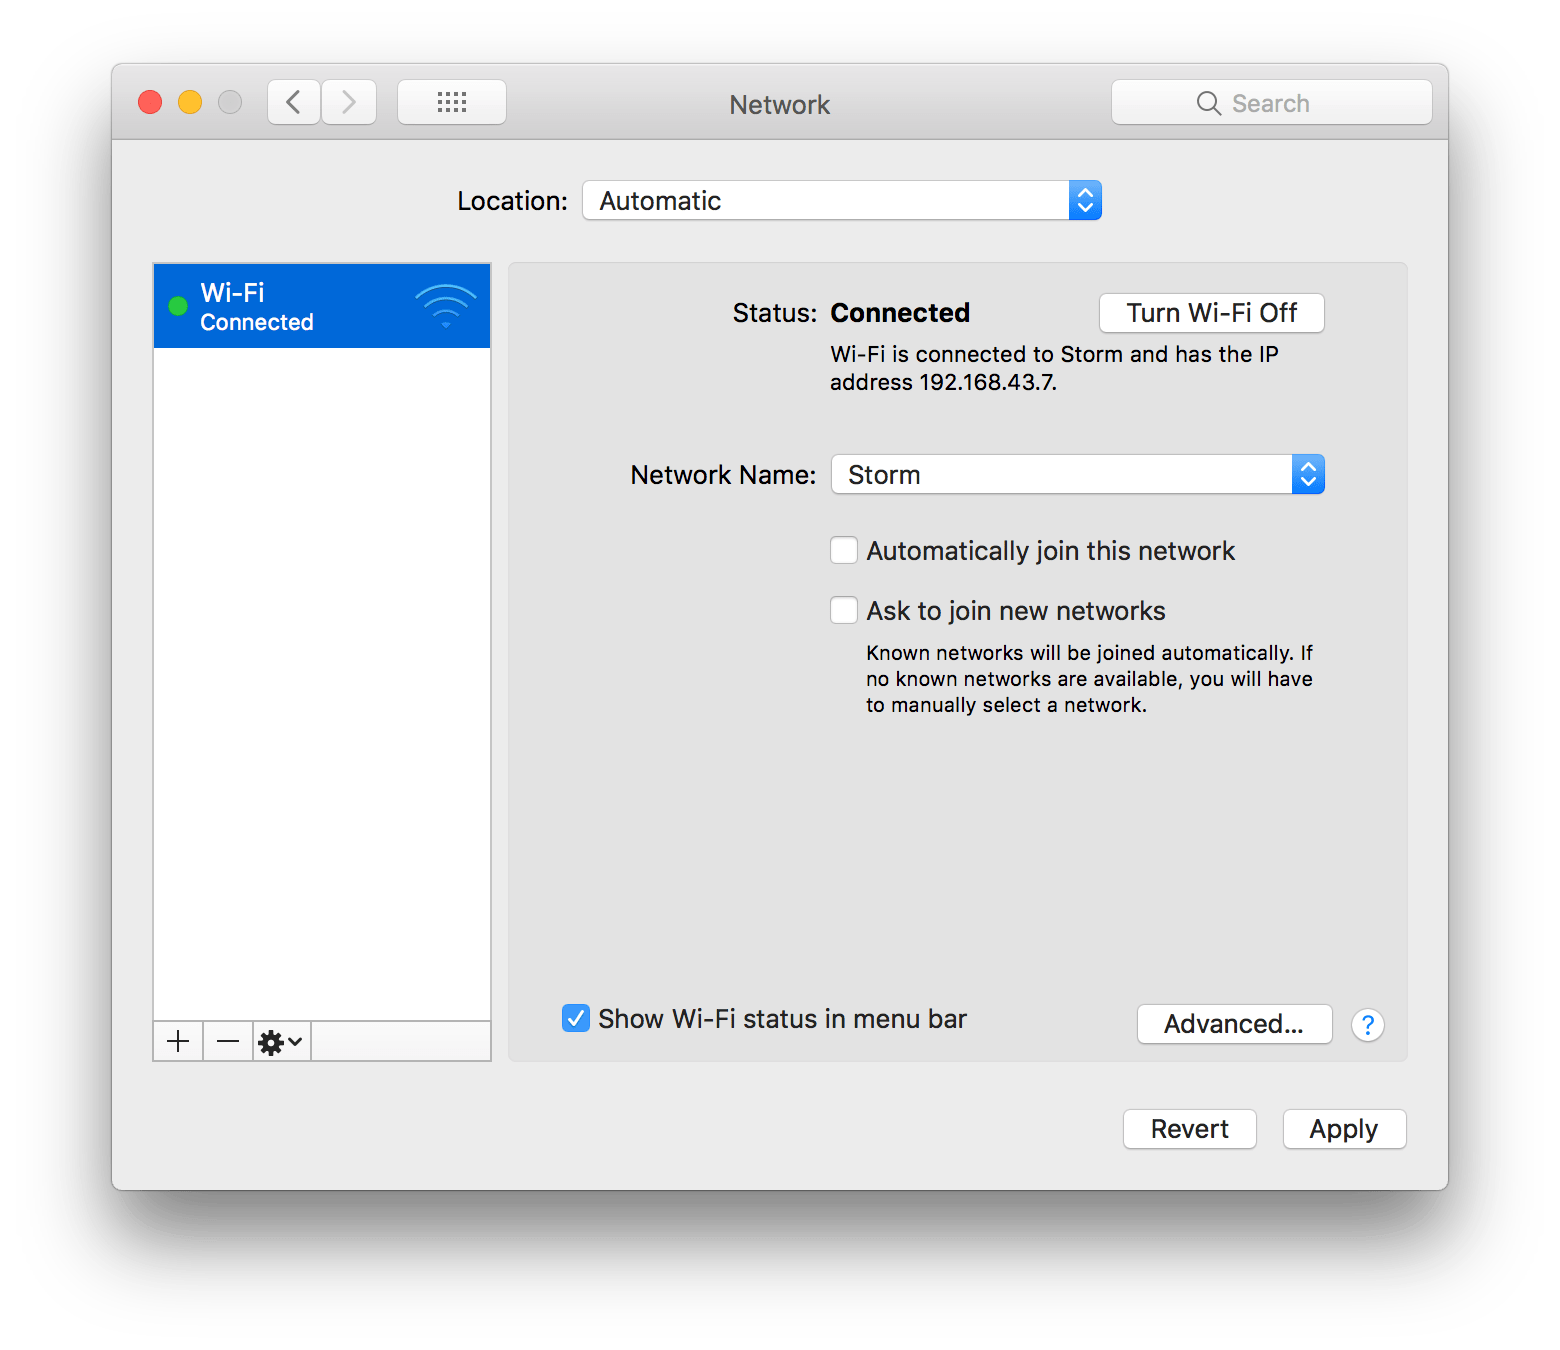
The local IP address of your computer is required for port forwarding. To find it, navigate to System Preferences > Network and select your network on the left. Your IP address should be shown on the details panel right. Take note of it, as you’ll be needing it in the next step.
Configuring port forwarding
Port forwarding is a procedure that allows your router to identify and route connections to certain computers. In this case, it will allow your Android phone to connect to your computer.
How port forwarding is configured depends heavily on your router model, you can consult your router manual or check online for details. It’ll generally follow something similar to this:
- Connect to your router’s default gateway address in your browser. If you don’t know what it is, you can find it here:
- Wi-Fi: System Preferences > Network (Wi-Fi selected) > Advanced… > TCP/IP > Router:
- Ethernet: System Preferences > Network (Ethernet selected) > Router:
- Enter your credentials and log in to your router interface
- Navigate to port forwarding settings. It can sometimes be hidden under advanced settings.
- Create a new port forwarding entry with:
- Your server computer’s local IP address (the one you found earlier)
- Your server’s port, which is 1359 by default (if a range is required, put the same value as both the start and end range)
- Type TCP
Be sure to save and apply your changes. PortCheckTool.com and CanYouSeeMe.org can be used to check if your port forwarding was successful.
Please note that many network setups will change the local IP address of a computer from time to time, which will break any port forwarding instructions. You may need to assign your computer a static IP address in order to prevent this from happening.
Handling IP address changes
When your IP address changes, the AirMessage app will lose connection as it won’t be able to connect to the server anymore. To fix this, a dynanic DNS provider tracks IP address changes to ensure that the app is always able to connect.
This will often involve installing extra software on your computer or router. Providers that we recommend are Dynu Systems, No-IP, and DuckDNS (more advanced). Specific instructions will vary depending on the provider you choose, though they will generally follow a similar pattern:
First, register for an account and pick a hostname. This hostname will be what you will use to connect to your server.
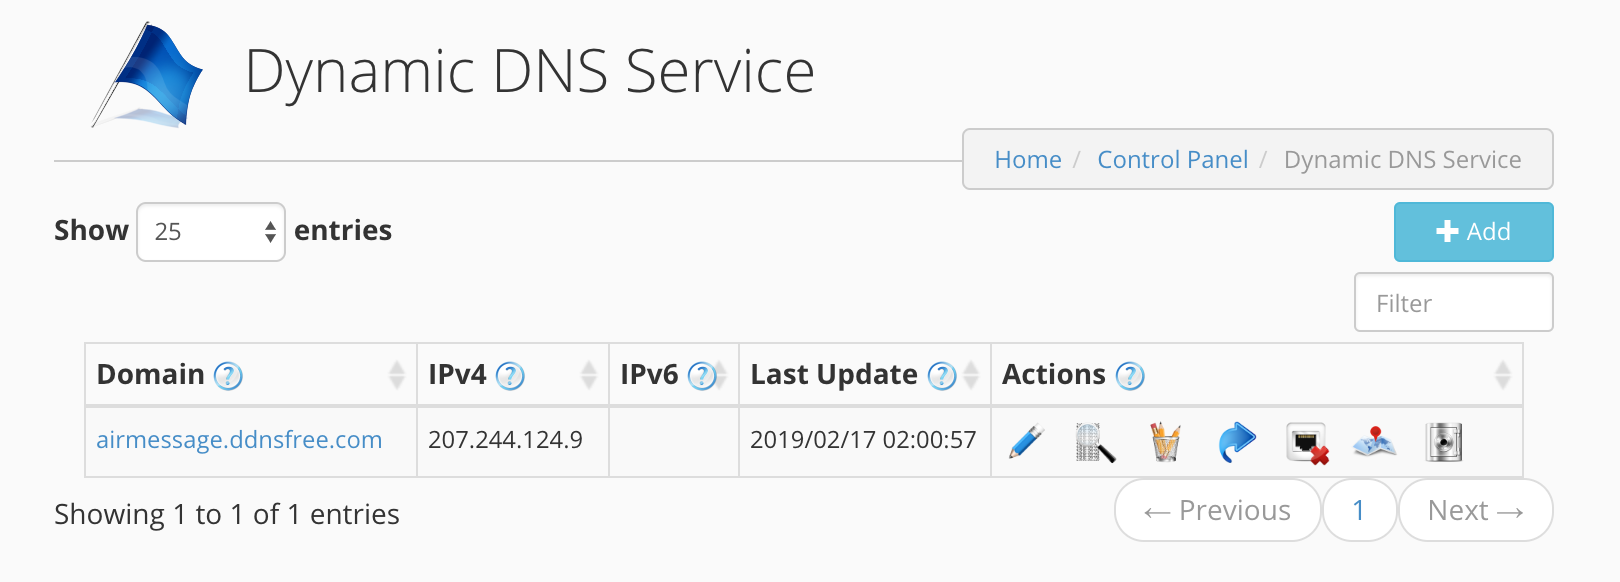
Next, download, install, and run their update client. You will be prompted to log in with your previously registered account. Afterwards, the app should start updating the service with your public IP address.
Connecting the app
You’re almost there! Now it’s time to configure the Android app to connect to your server, allowing it to send and receive messages. To begin, make sure you have the app installed on your smartphone.
AirMessage for Android
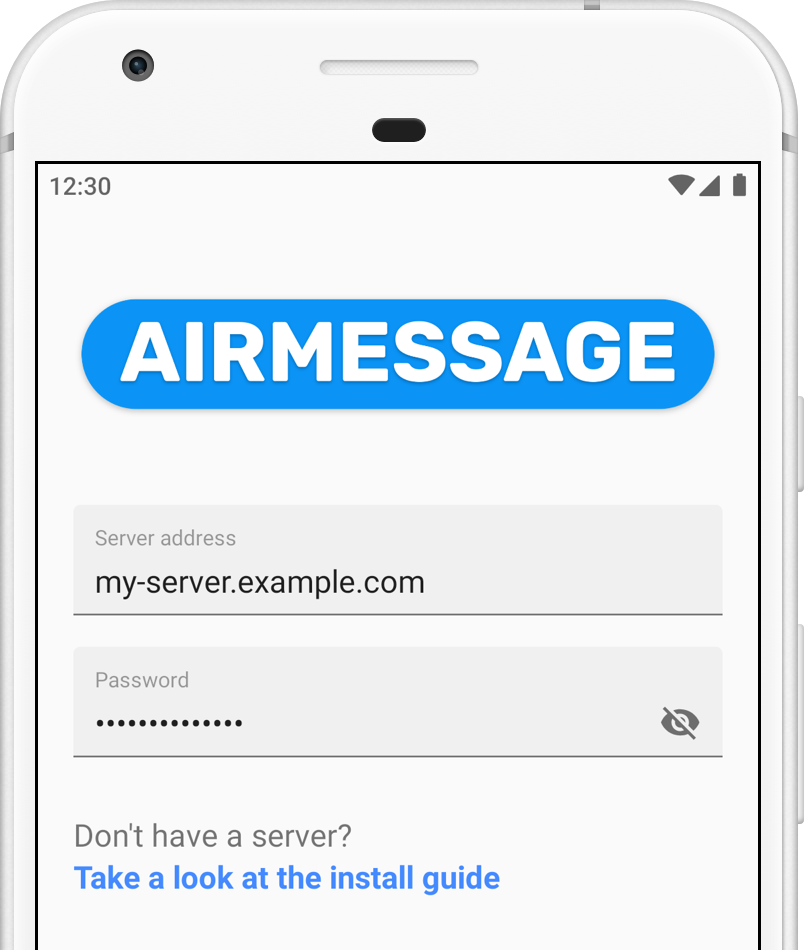
Open the app, and all that’s left to do is enter your server’s address and password. The server address should be your chosen dynamic DNS hostname, and the password must match the one you selected on your computer.
Congratulations! You have reached the end of the setup guide. If you had any trouble following this guide, experienced any issues, or have a question, please visit the help page.
