Installation guide (AirMessage Cloud)
Supported devices
AirMessage supports the following devices:
| AirMessage Server (required) | AirMessage for Android | AirMessage for web |
|---|---|---|
| macOS 10.10 Yosemite or newer | Android 6.0 Marshmallow or newer | Any modern browser |
Installing the server
AirMessage Server is a crucial part of the AirMessage experience - it forwards incoming messages to your Android phone or browser, and sends outgoing messages on their behalf.
To get started, simply download the server onto your Mac computer and place it in the Applications folder.
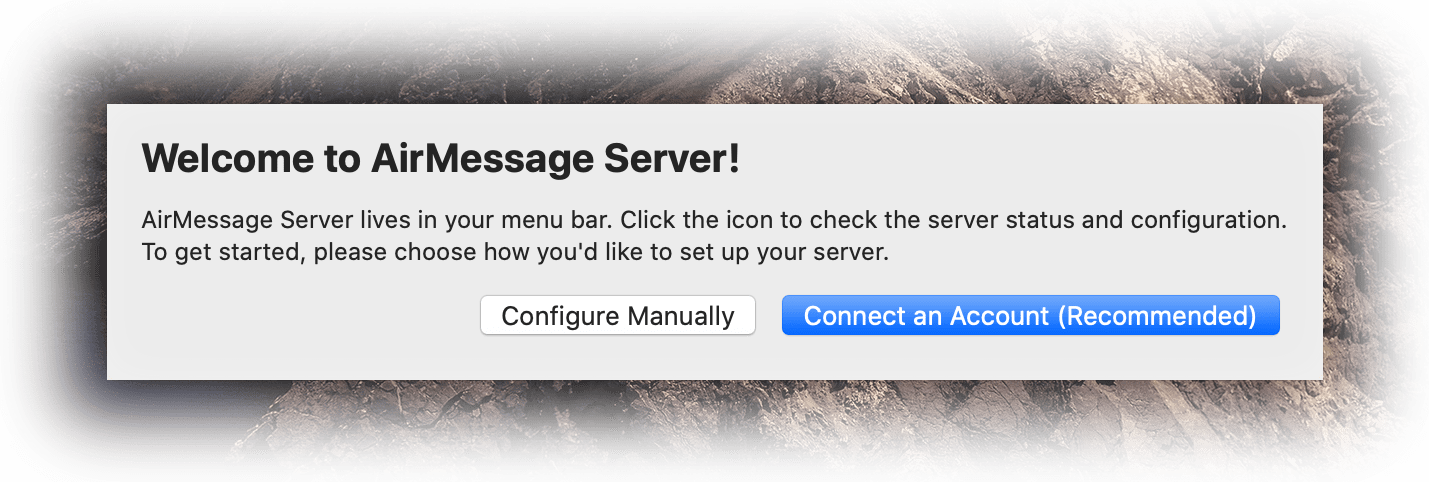
When you open the app, you will be greeted with this welcome message:

Click Connect an Account (Recommended) and connect your Google account to get this computer registered.
Enabling messaging access
If you are on macOS Mojave 10.14 or later, you will have to allow AirMessage automation access in order to send messages. You will be prompted when first running the software, though if you previously rejected this permission, you can re-enable it later under System Preferences > Security & Privacy > Privacy > Automation.
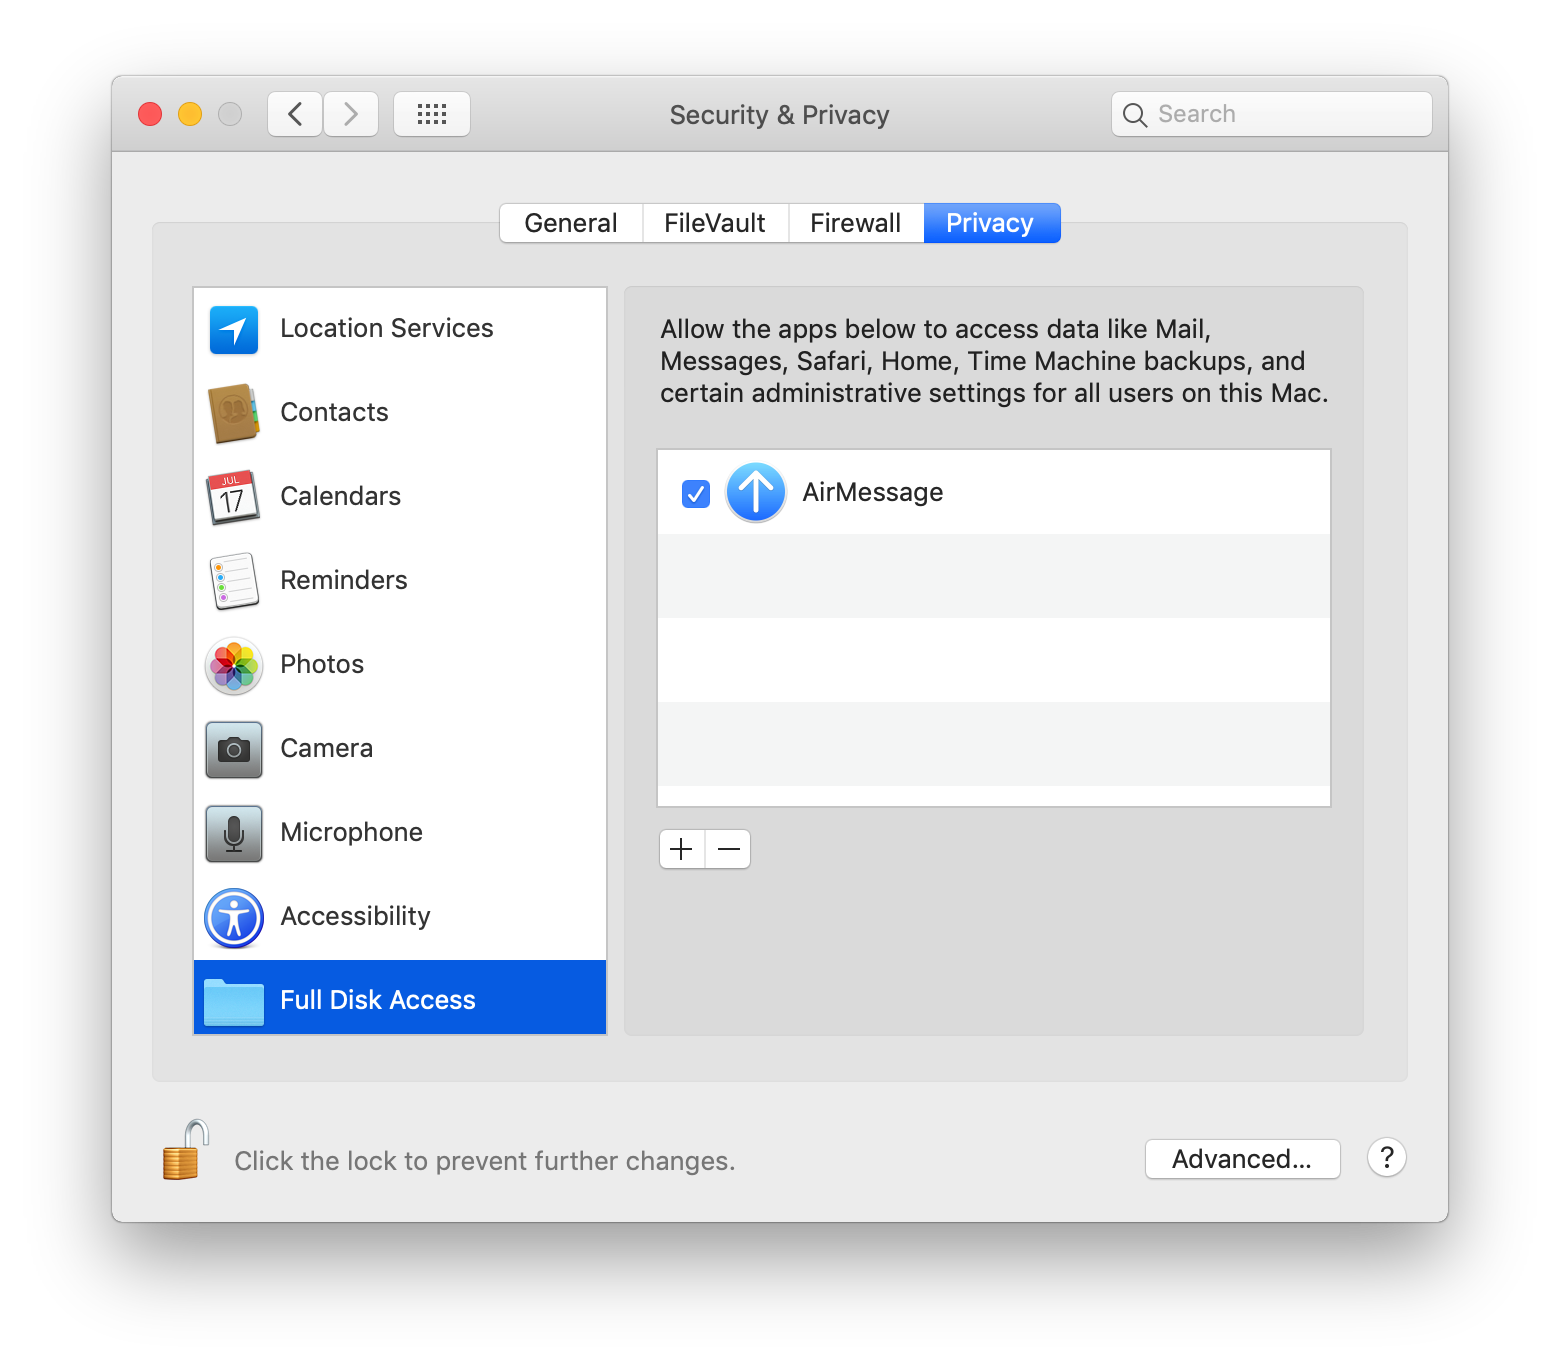
You will also be prompted to allow AirMessage to read your messages on macOS Mojave 10.14 or later. Under System Preferences > Security & Privacy > Privacy > Full Disk Access, add AirMessage. AirMessage will not read any data other than your Messages data.

Adjusting sleep settings
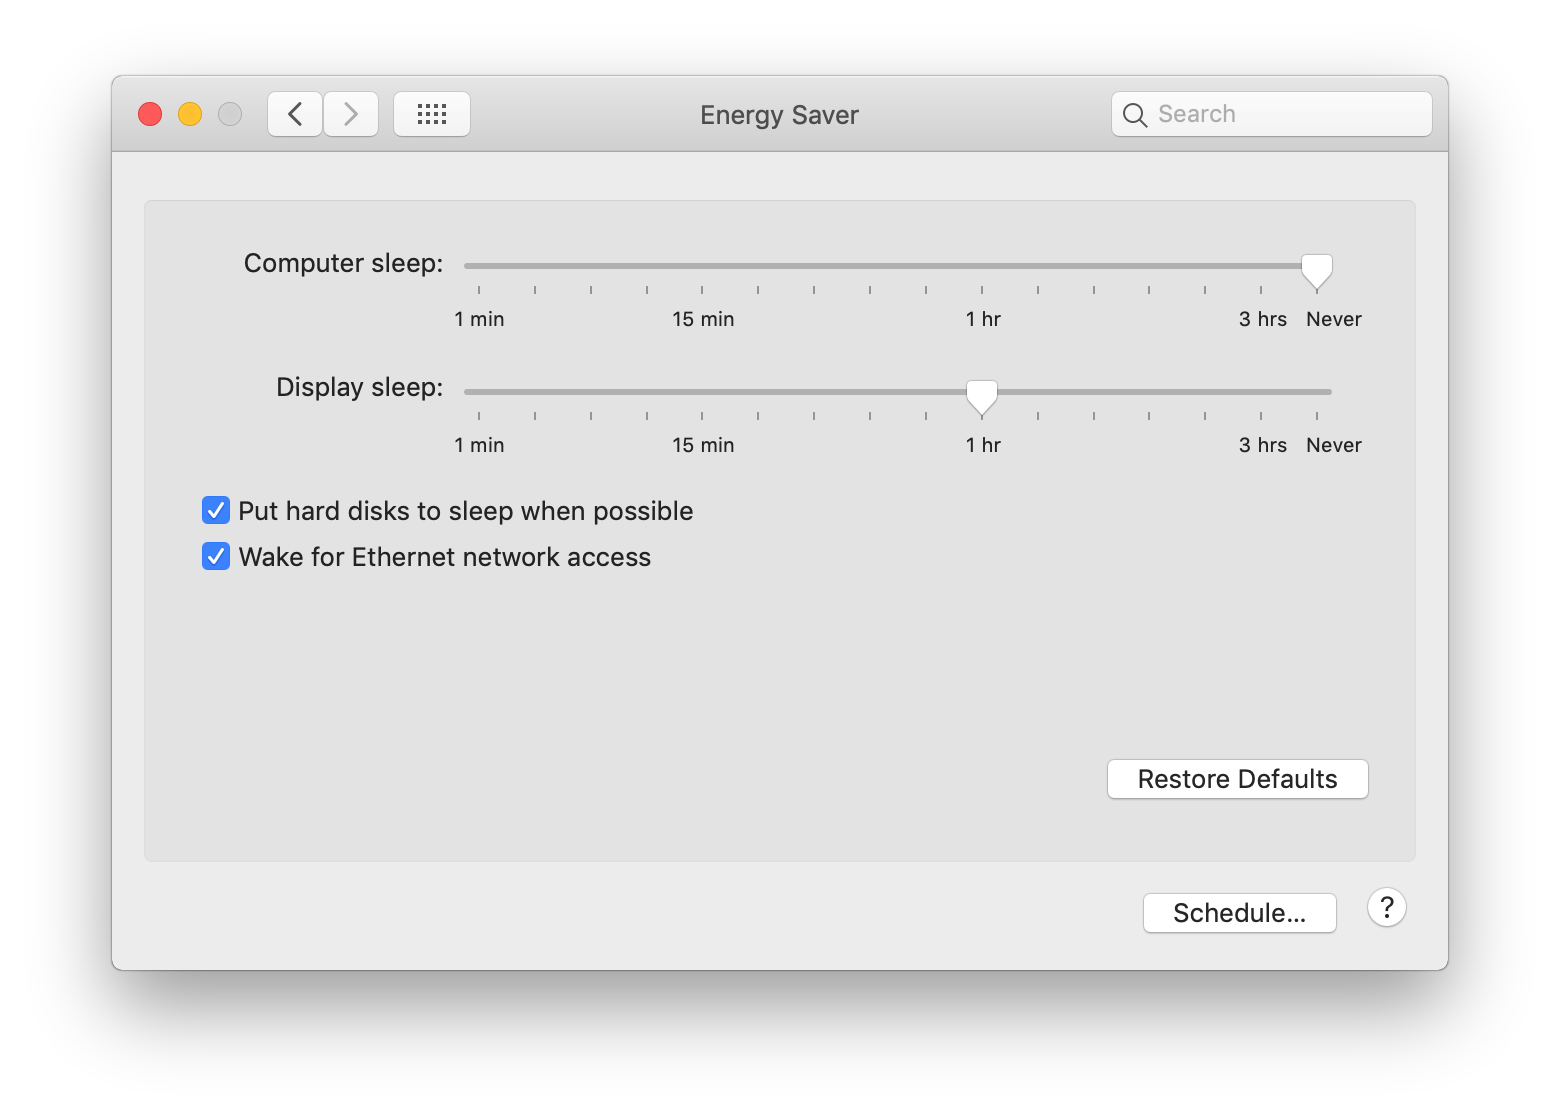
As AirMessage functions as a server on your Mac, it will need to be available all the time in order to send and receive messages. For this reason, you will have to disable sleep settings on your Mac. Navigate to System Preferences > Energy Saver to change this setting.

If you are running AirMessage on a laptop, the system will freeze all software currently running when the lid is shut, regardless of energy saver settings. If you would like to turn your laptop into a stationary server, we recommend that you use a keep-awake utility such as Amphetamine or Caffeinate (built-in commmand).
Connecting the app
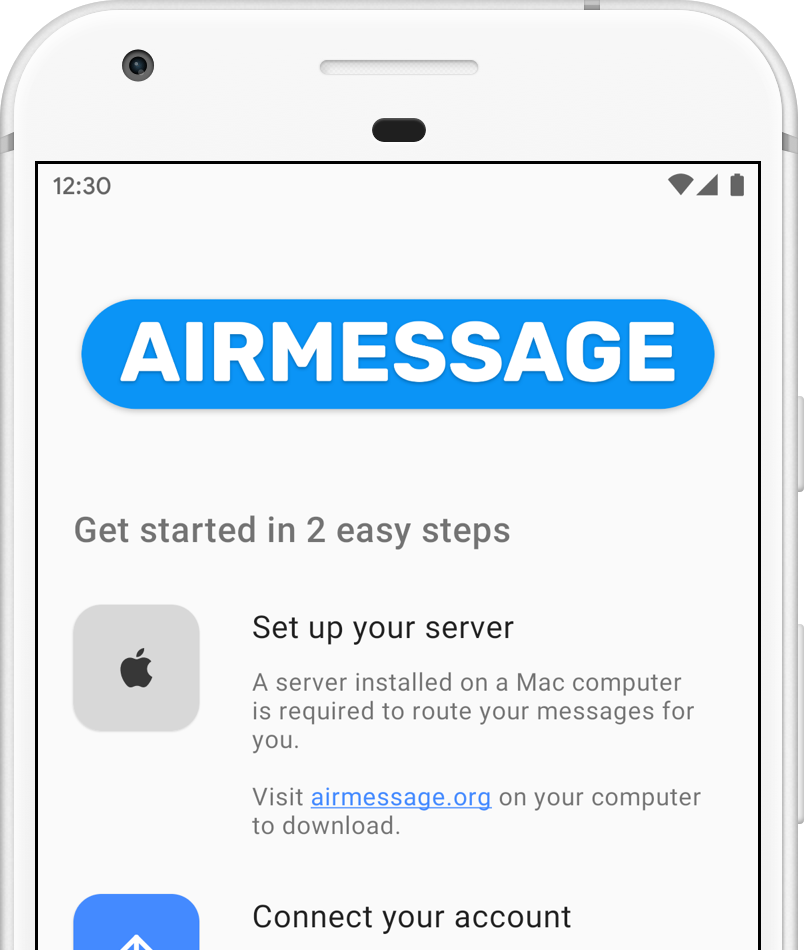
Now that the hard part’s out of the way, let’s get messaging. Navigate to AirMessage in your browser, or download the app from the Google Play Store. All that’s left to do is sign in with your Google account, and you’ll be good to go!
AirMessage for web
AirMessage for Android
Congratulations! You have reached the end of the setup guide. If you had any trouble following this guide, experienced any issues, or have a question, please visit the help page.
